I created this post for the
A Million Memories Blog for today!! I also wanted to share it with my friends and family.
------
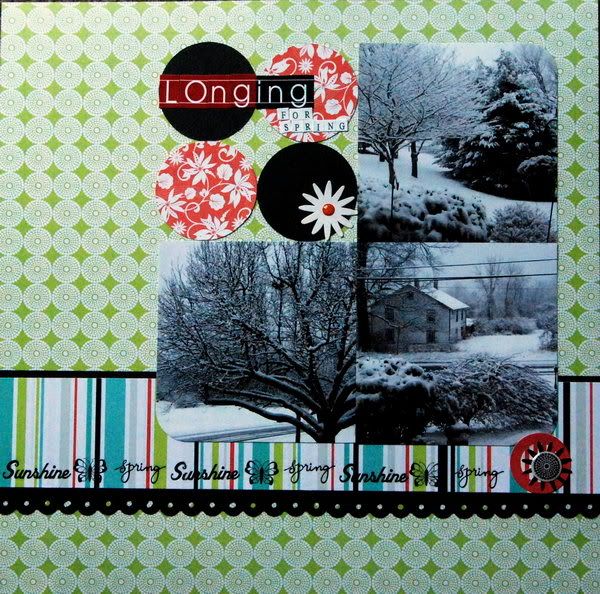
Layouts are not just for albums anymore!! These days, scrapbookers all over the world are posting their work to online galleries and personal blogs. They are submitting their work to magazines and trying out for design teams. They want to showcase their projects and really make them stand out. So, for this week’s technique, I thought it would be fun to show you some ideas on how to edit your projects to really make it POP!!
(I will be using my personal photo editing program from ACD Systems but these or similar options are available in most popular photo editing programs. Check your user guide for more information)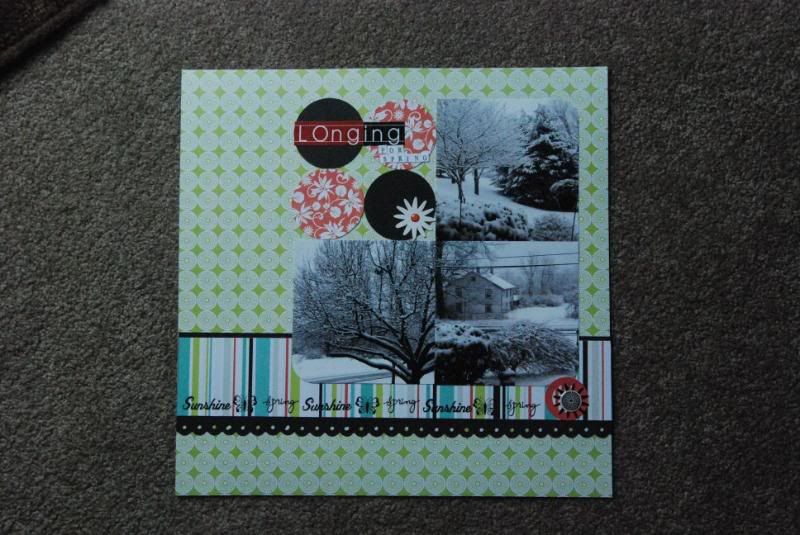 Lighting:
 The best way to take a good picture is to use natural lighting. Try your best to not use artificial lighting unless you really have no alternative. Artificial lighting will cause unexpected color changes and in most cases will cause a glare on your photos.
When using natural lighting, don’t use direct sunlight because this will cause harsh shadows on your project. Instead, use diffused light or find another spot further away from the door or window.
Editing: When I take photos of my projects, the first think I do is select which photo is the best (I usually take at least 3 of each shot) then I delete the rest.
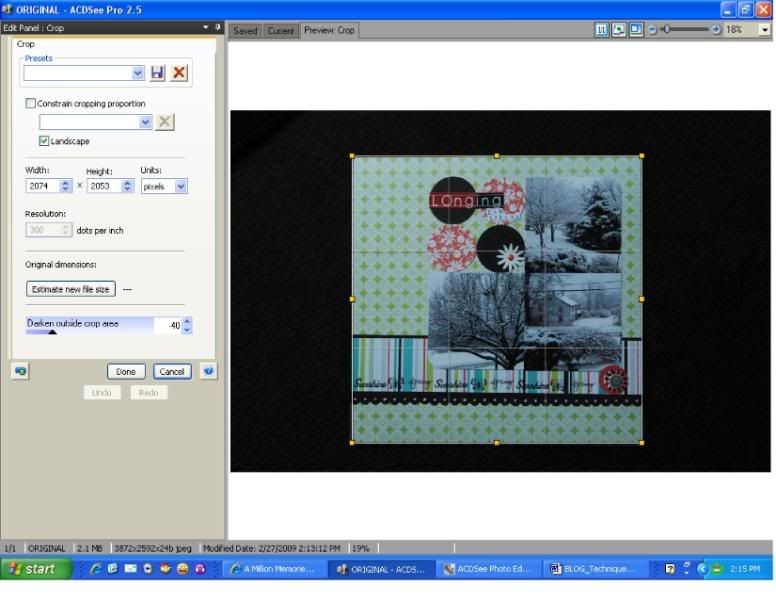
The next step is to
CROP the photo. I try to get as close to the edges as possible so that my project fills the entire screen.
Next, I edit the
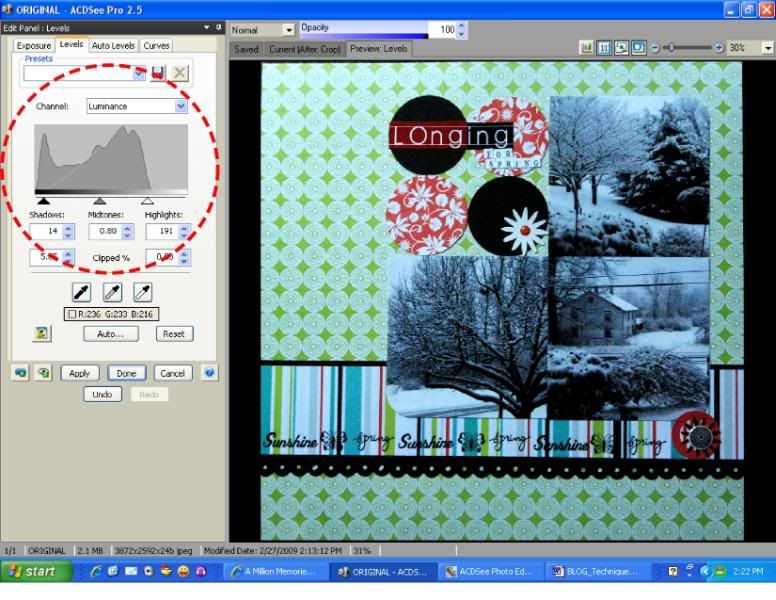
EXPOSURE. Most editing programs will have an “Auto Exposure” option which works fine in most cases. But I prefer to use the “levels” or “histogram” option. This is where you get to play with the “shadows”, “midtones” and “highlights” of the photo.
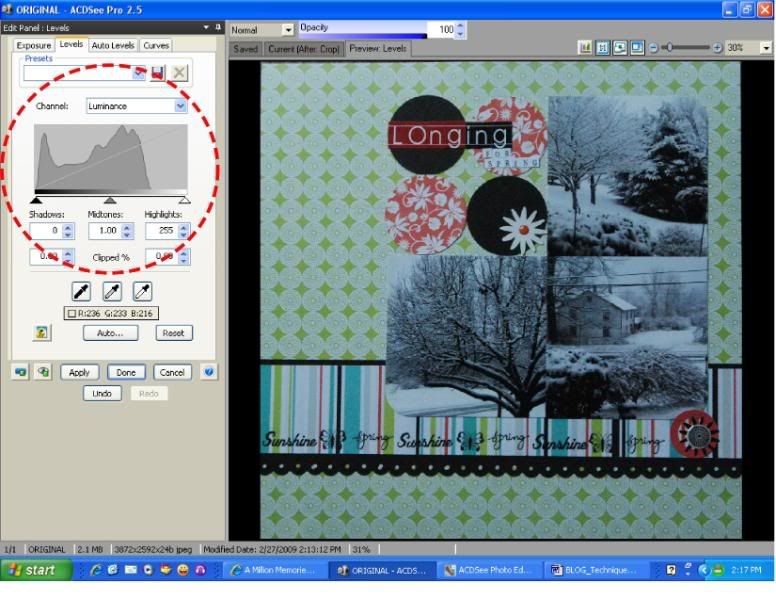
The idea is to move the “slider” for each of the three options until you like what you see. The most successful way that I’ve found is to move the shadow and highlight sliders closer to the “peek” of the histogram. This will usually give you the most natural exposure. From there, you can change the midtone slider a bit. Mostly, just tweaking the shadows or highlights is all you need.
As you can see, I moved the highlights slider to the left a good bit to reach the first peak and I moved the shadows slider just a bit to the right.
Next, depending on the lighting in the first step, you might have to change the
COLOR CAST. This is where you will see either a bluish or yellowish cast on the part of your project that is supposed to be white.
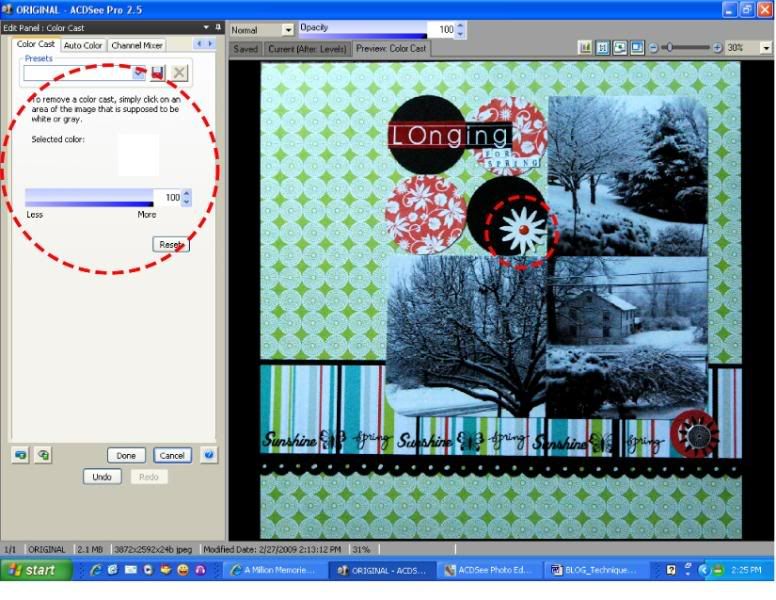
I don’t always need this step but sometimes it really makes the difference. Right now, I think my photo has a yellow tint so I’m going to use the Color Cast option. The flower over the lower black circle is what I’m going to use as my source.
Find your editor’s
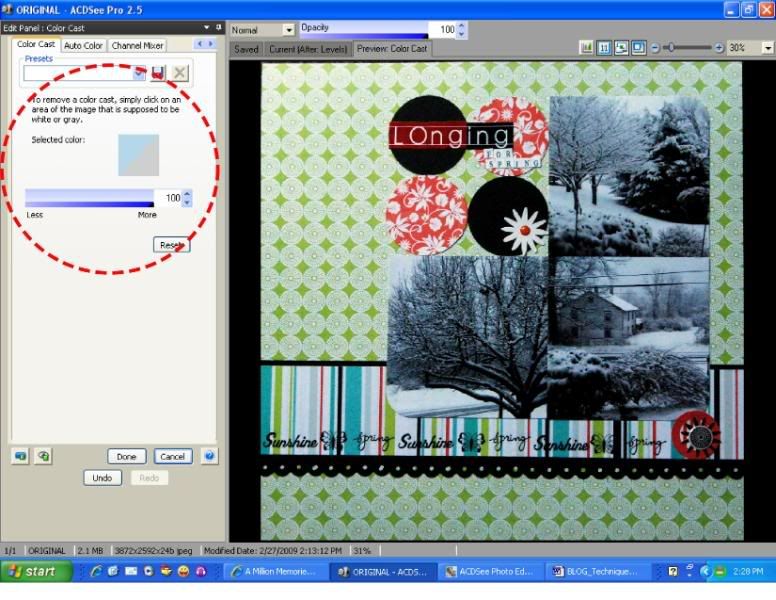
COLOR option. Take your mouse and hover over the area where you want your photo to be white. (Usually you will see an eyedropper). Click on that section and you will notice the entire project will look much better. If you don’t like what you see, keep clicking on different areas until you like the color change.
There are loads of other options you can use like sharpness and noise but I don’t use them unless they are absolutely necessary.
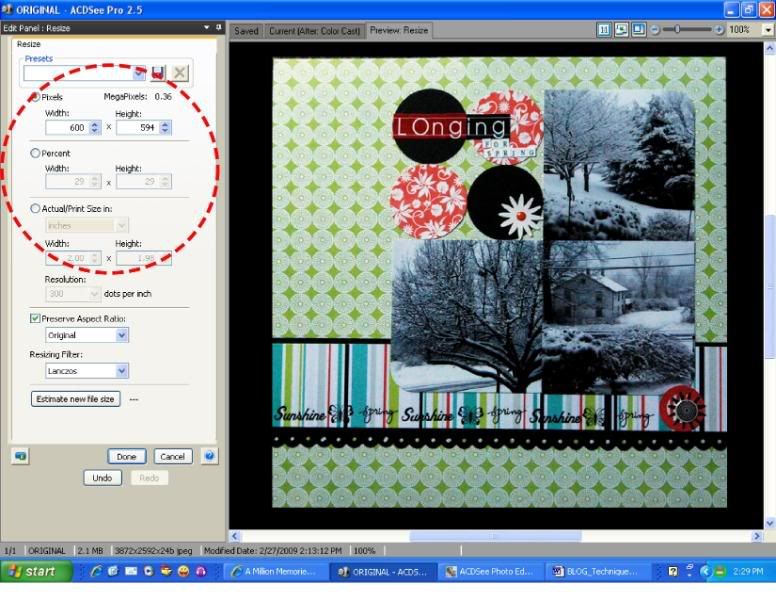
The final step before saving is to
RESIZE your document. Typically, I resize my projects so that the largest side is no bigger than 600 pixels. This will work perfectly on most websites and will be accepted by most magazines and other calls. Anything smaller and you might just loose too much detail. (You can always make it smaller if needed for a specific call but you can never make it bigger without losing detail and resolution).
Now I know this may seem like a lot of work in order to post a project but you will love the results and it will be worth it!!